Recording your computer’s internal system audio is an important feature that Audacity makes quite simple.
Perhaps you need to record something on your computer for a video, you want to edit something you find online but can’t download, or you simply want to blend multiple tracks together, recording system audio is easy. Let me show you how.
While the first option will only work on Windows, the second option will also work on Mac or Linux.
Option 1: Speaker Loopback
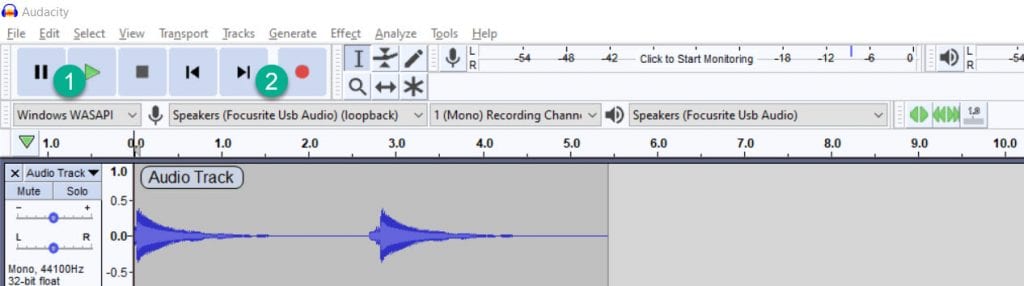
The first and simplest option simply has you set the microphone that your Audacity records with, to your computer speakers.
This feeds the audio directly into Audacity as if your speaker were a microphone.
To enable this, you’ll first want to switch the option on the left to ‘Windows WASAPI’. If that’s not already selected, it may be currently showing as ‘MME’ or ‘Windows DirectSound’. However, only ‘Windows WASAPI’ will work with this option.
As you might guess, this also means that this option is only available to people using Windows computers.
After that, you’ll want to select a microphone option that includes the word ‘loopback’. If you look at mine, it says Speakers (Focusrite USB Audio) (Loopback) because my speakers are being handled by my Focusrite audio interface. Yours may just say ‘Speakers’ or ‘Headphones’, or something like that. If you try each one of them, you’re sure to find which one are your actual computer speakers.
Note that when you start recording with this option, the playhead won’t move at first. In fact, it won’t record anything at all until your computer starts making noise. As soon as any system audio stops, the recording will also pause. This means that it won’t record any periods of silence – it will jump immediately from one noise to the next. If this is undesirable for you, you could play a very faint white noise track in the background or something in order to ensure the recording is continuous.
If you have looked for other tutorials on how to record computer audio with Audacity online, you may have heard people talk about using something about enabling ‘Stereo Mix’ in your audio settings. The option I mention here actually leads to higher quality audio due to how the audio is processed, and it’s a bit simpler too.
Option 2: 3.5mm To 3.5mm Cable
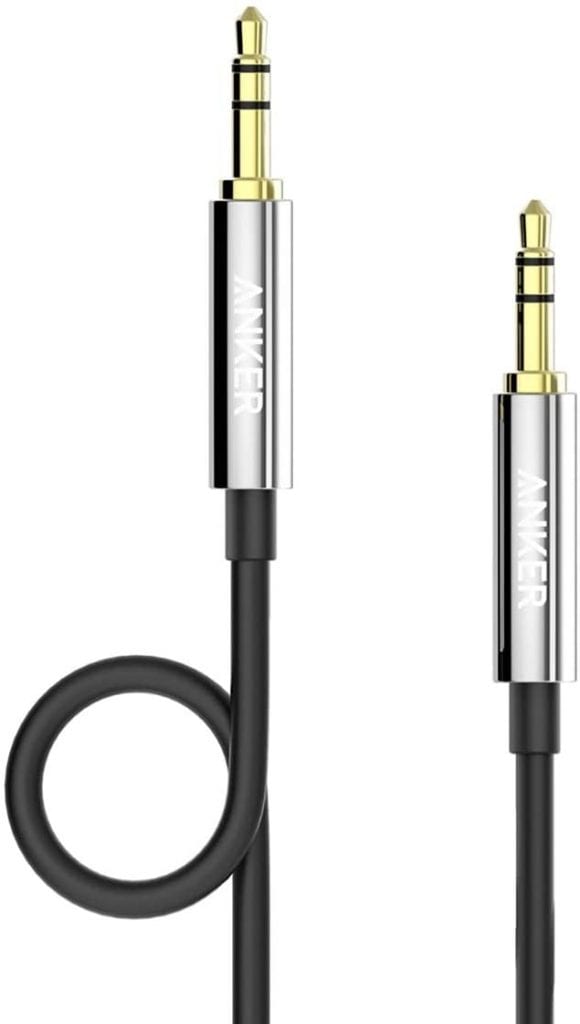
This is a wonky workaround, but it should work regardless of the operating system that your computer is using.
These cables run for around 10 bucks, and you can even use them to record audio from your smartphone directly into Audacity if you wanted to.
For system audio though, you’ll want to plug one end into your laptop’s headphone jack, and the other into the similar sized microphone input.
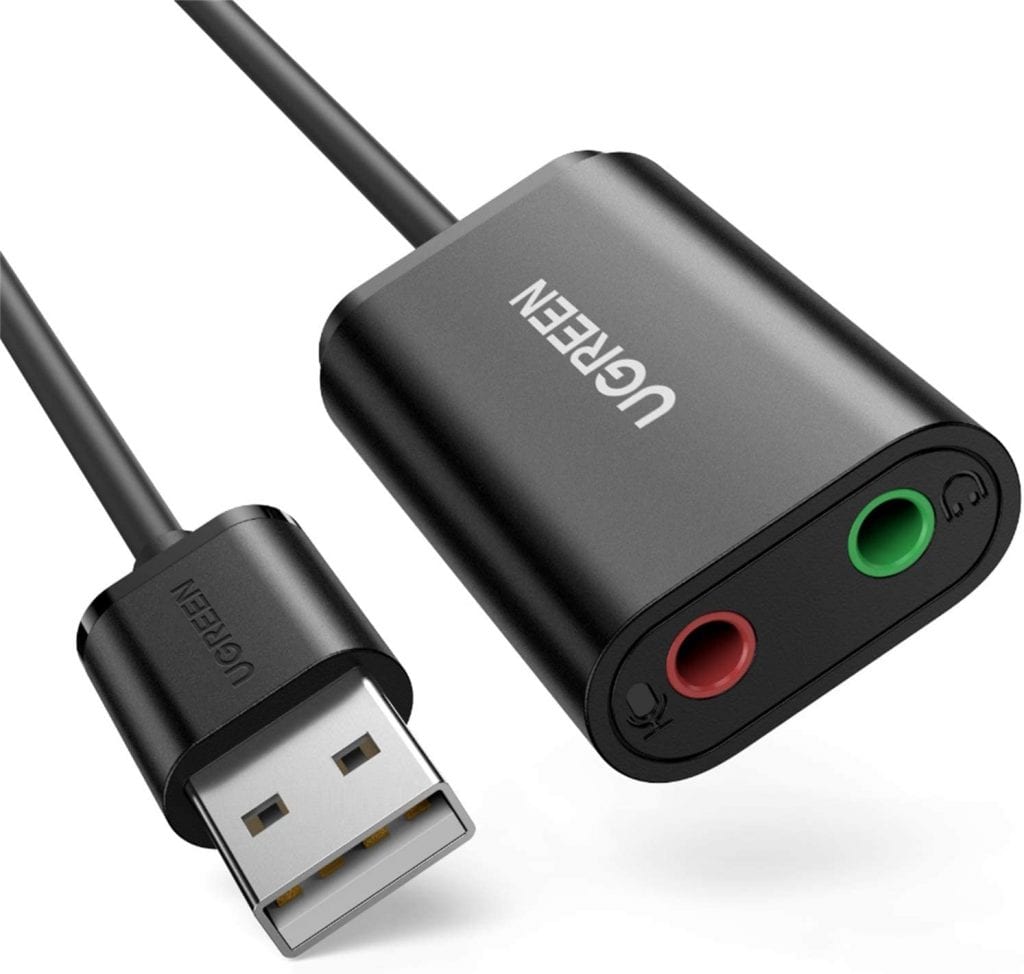
If your computer doesn’t have a 3.5mm microphone input, which in all honesty wouldn’t be that surprising, you can buy an external one like this and plug both ends of the cable into that.
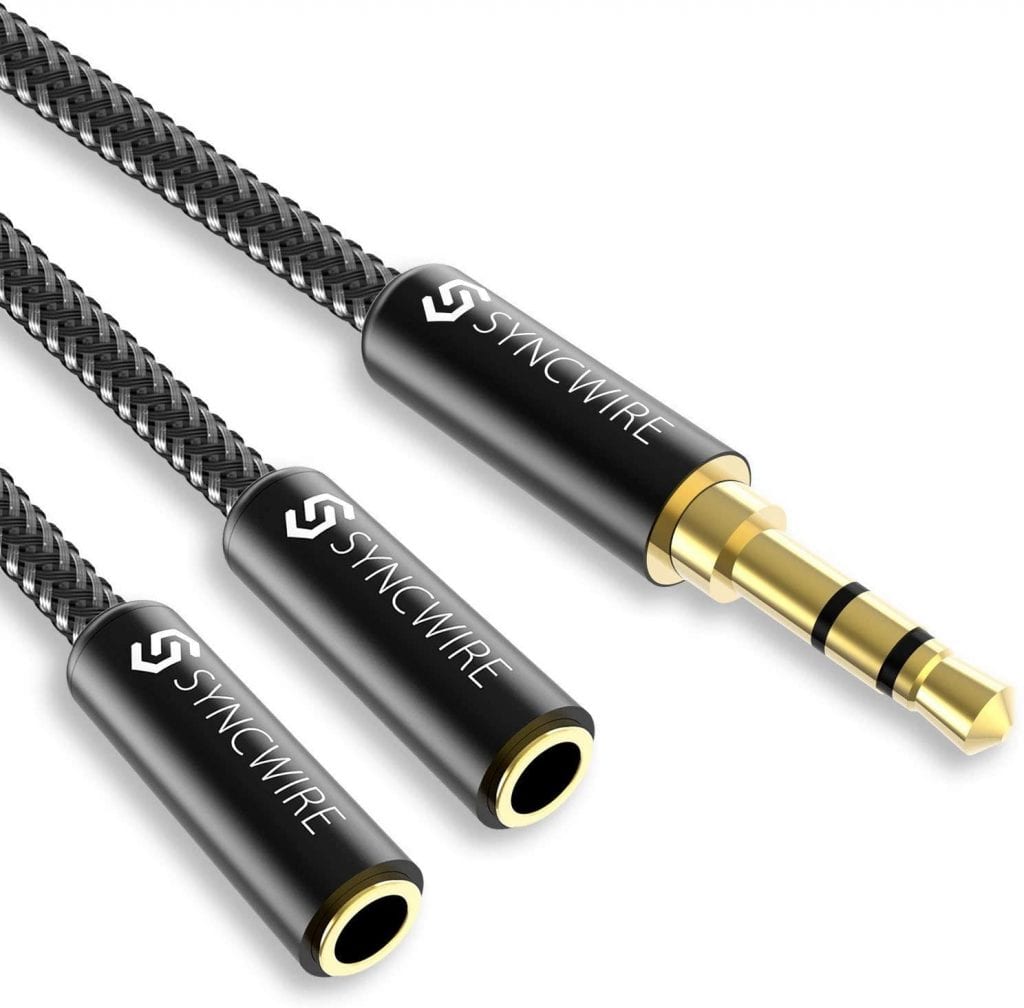
The only downisde is that you won’t be able to hear the audio as it’s being played. To remedy this, you could buy an additional headphone speaker, then plug it in to the headphone jack (either on your computer, or the gadget pictured above.)
Conclusion
If you’re using Windows Vista, 7, 8, 10 or 11, there’s really no reason not to use the speaker looper option built straight into Audacity. This will yield the highest quality signal and prevent the most common issues that will pop up when recording system audio.
However, if you’re using a Mac or Linux computer, or you’re otherwise unable to use Windows WASAPI, purchasing the gadgets mentioned above

this is great i didnt realise audicty could do this
izzy(Quote)