As Instagram Reels have grown, so have the number of effects that can be used within your videos.
One of the most popular – and fun effects to use is the Before and After scan. This effect allows you to overlay a photo on the video that is ‘scanned’ in as the Reel progresses, showing the transformation between before, and after.
But how do you use the before/after scan effect on Instagram?
In this article, I’ll show you step-by-step how it’s done, so you can join in on this trend too!
How To Use The Before/After Scan On Instagram
The before/after scan only takes a few moments to use, once you know where to find it and how to use it.
Let’s look over each step individually, so you can start using it in no time!
1. Begin Filming A New Instagram Reel
If you want to use the before and after scan on Instagram, it will need to be within an Instagram Reel.
Currently, normal video uploads do not allow the use of effects like this one.
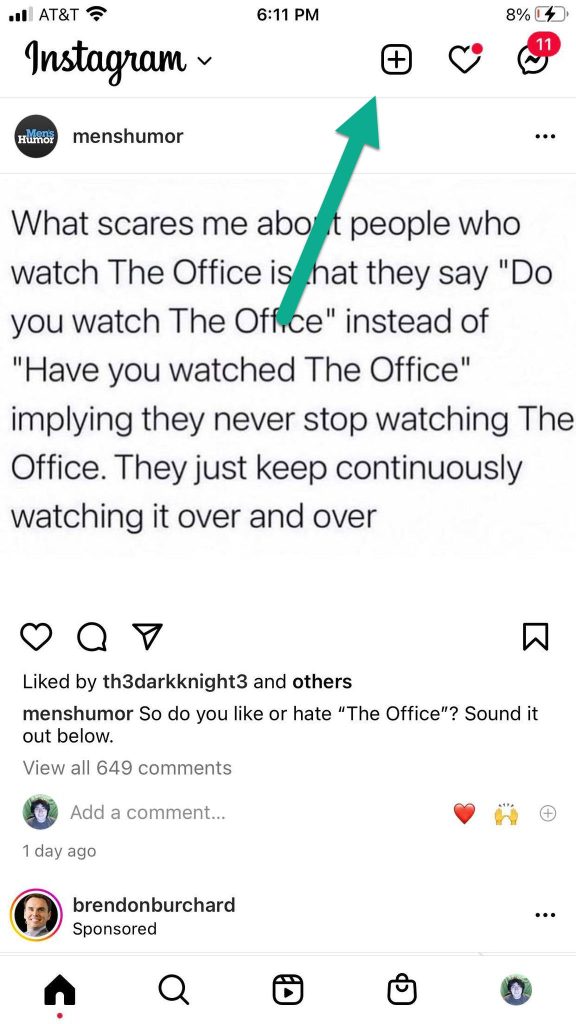
So, begin filming a new Reel by tapping on the plus button from the Instagram home page.
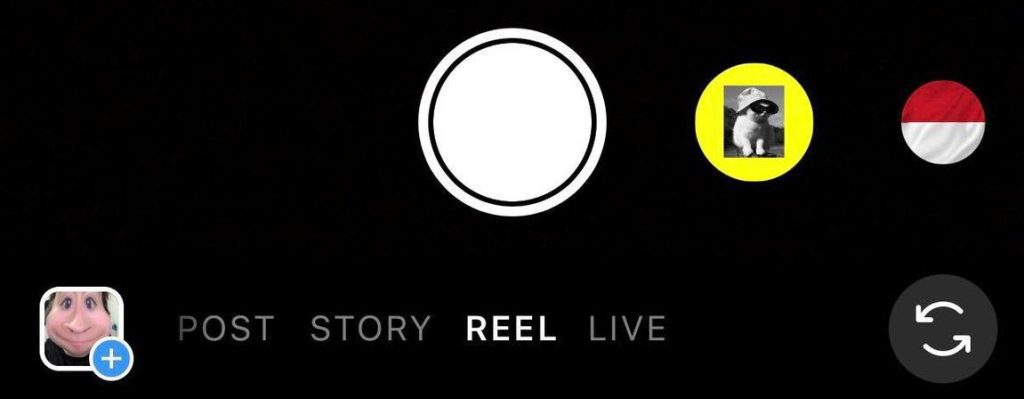
Then, make sure ‘Reel’ is selected on the tabs running across the bottom.
Once you are on the screen to begin filming a new Instagram Reel, move onto the next step.
2. Tap On The Effects Button On The Left-Hand Side
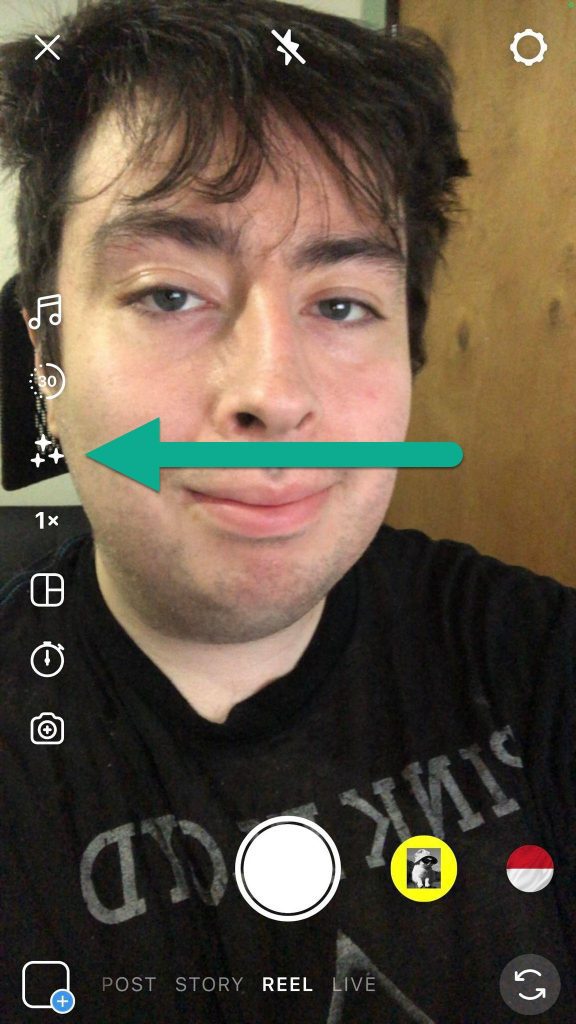
Next, before you begin filming your Reel, tap on the effects button on the left-hand side of the screen.
This will be a little icon if three shimmering stars, below other options like the music for your Reel, or the timer.
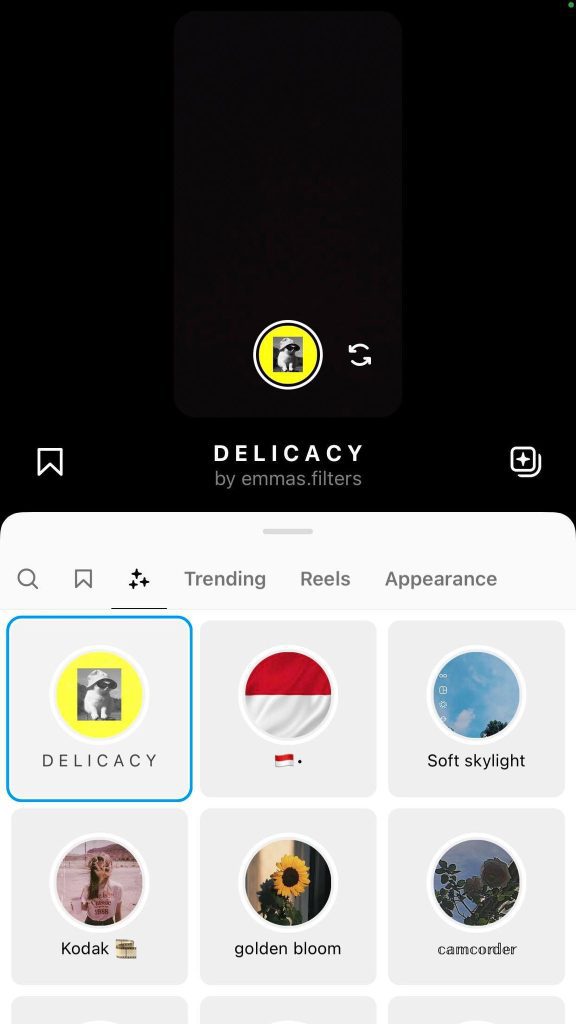
Once you tap on it, it should bring up a list of effects.
3. Tap On The Search Icon
Instagram has a lot of effects.
So, chances are, the before/after screen won’t be available when you first pull open the effects list, unless you use it frequently.
Therefore, the easiest way to find it is to search for it.
So, open up the effects search screen by tapping on the icon of the magnifying glass.
Alternatively, if you’ve saved or bookmarked the effect in the past, you can also tap on the bookmark icon to pull up your saved effects.
Assuming you haven’t bookmarked it already though, move onto the next step.
4. Search ‘Before/After Scan’
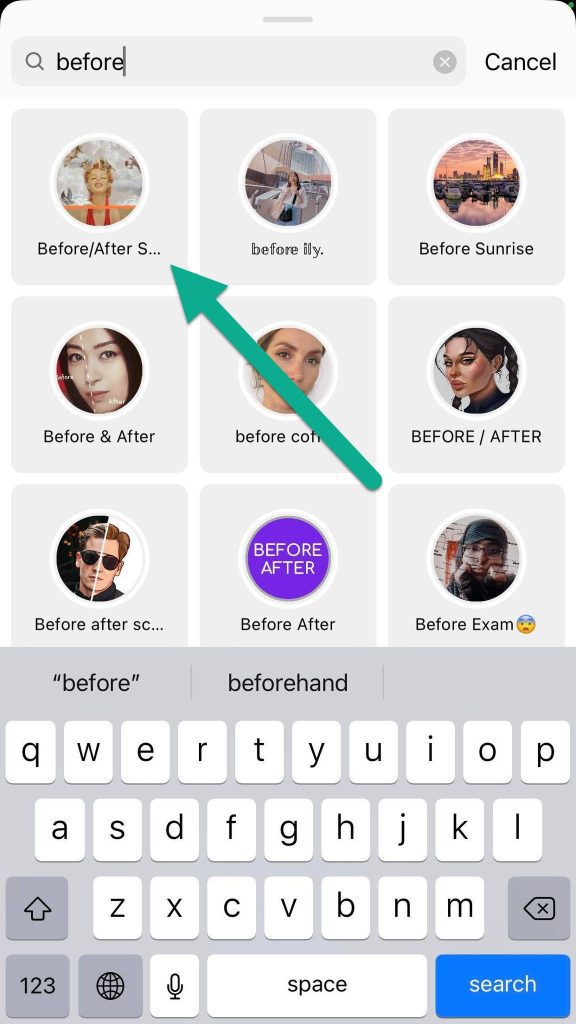
When the next window pops up, tap on the search bar to begin typing.
The exact name of the effect you’re looking for is Before/After scan. Note that there is not a space before, or after the slash.
Usually, the effect will show up even if you only just type ‘before’. The one you’re looking for has a picture of a woman on it with the scan going through, as pictured above.
Note that there are many other effects that are similar in nature, so you may wish to try these out as well.
For now though, I’ll continue focusing on the one that’s most popular.
Tap on the effect you want to use to open it up.
5. Tap On The ‘Add Media’ Button
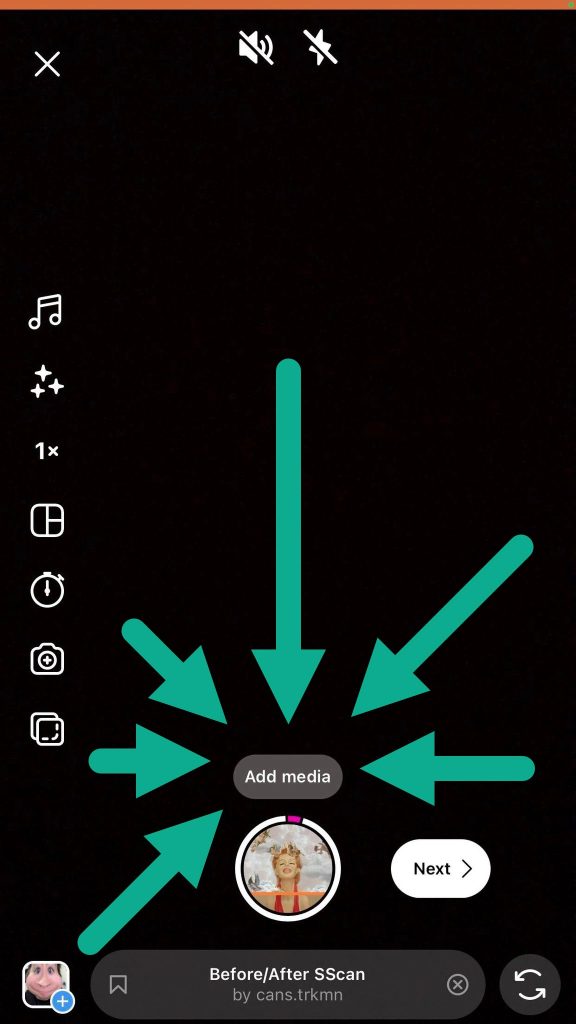
This step is important, and one that many people miss.
Tap on the add media button to add the photo that you want to use for your ‘After’ picture.
Note that only one photo can be selected, so make sure it’s the one you want to use.
If you forget to tap on ‘add media’ and select a photo, the Instagram Reel will record a black and white checkered background instead – which probably isn’t what you’re going for!
6. Record Your Reel
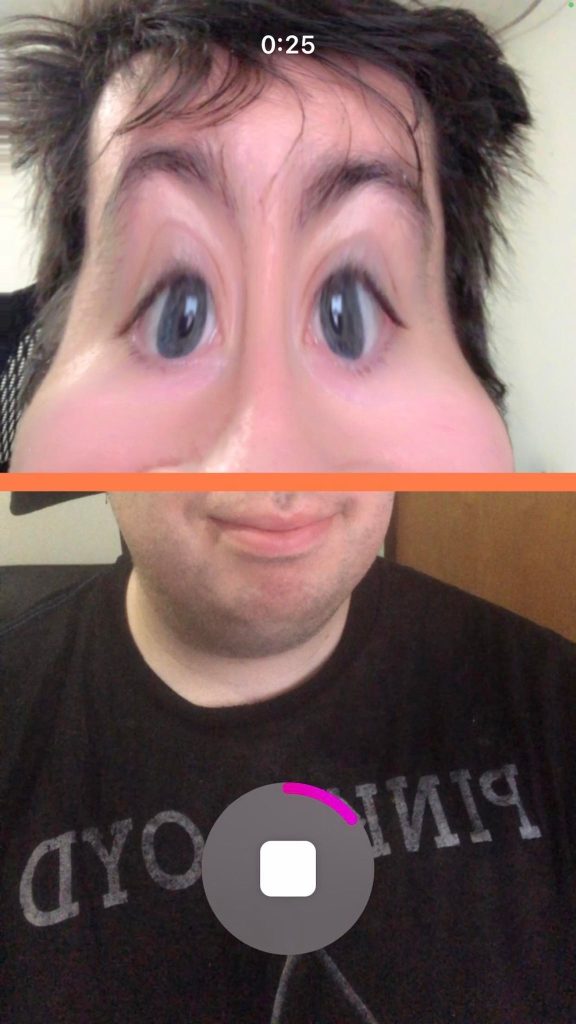
Finally, the last thing that you’ll need to do is record your Instagram Reel, by holding down the record button!
As the Reel progresses, your current video will get overlaid with the photo that you selected earlier.
The orange bar will slowly move down from top-to-bottom until the recording has been completed.
At this point, congratulations! You can now save or post the Instagram Reel, or edit it further if you wish.
What To Do If The Before/After Scan Is Missing, Or Not Working
In rare cases, it’s possible that the before/after scan effect may not work correctly.
It either doesn’t start actually doing the scan, or the effect may be missing entirely when you go to do it.
In these instances, what should you do?
First, make sure that you have the most recent version of the app by going to your device’s app store, and tying Instagram into the search bar.
If an update is available, this is usually enough to fix the problem.
Alternatively, you may consider deleting and reinstalling the Instagram app. While you will need to sign back in once you’ve done so, this almost always solves the problem when effects aren’t loading properly.
Finally, if you are using a recent version of iOS, make sure that you have granted Instagram access to the photos you want to use for the before/after scan – otherwise, it will not work properly!
Conclusion
Once you know what to do, creating an Instagram Reel with the before/after scan effect is pretty simple.
If you’d like, you can save the effect by tapping on the bookmark icon after searching for the effect. That way, you can choose it more quickly the next time you go to record a before / after video.
I hope that you’ve managed to record the Reel that you wanted. If you have any other questions about the before and after effect, please ask them using the comment form below.
Wishing you the best,
– James McAllister
