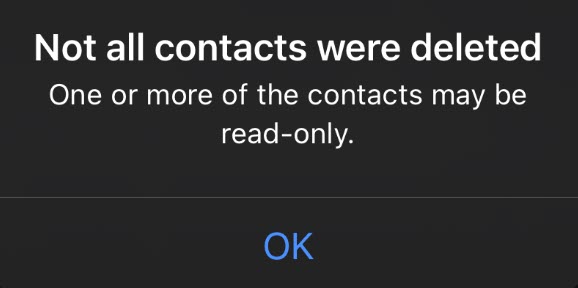
Are you trying to delete a contact on your iPhone or iPad, but are receiving the following message?
“Not all contacts were deleted. One or more of the contacts may be read-only.”
Not only is this message unhelpful, it doesn’t give any indication on how to fix it!
Thankfully, once you know what to do, deleting read-only contacts is a simple process. So, in this article I’ll be showing you three different ways to do so.
Let’s get started!
What Is A Read-Only Contact On iPhone / iPad?
Before we go any further, it’s important to understand what a read-only contact actually is, and why this message is popping up in the first place.
Typically, this occurs when the contact is added through a non-traditional method, rather than being manually added in through the contacts app.
For example, a third-party messaging app (such as WhatsApp or Facebook Messenger) may have saved the contact to your device.
Or, issues occurred when syncing the contact from somewhere else, such as through iCloud, or transferring data to a new phone.
Finally, it’s also possible that the contact wasn’t added on your phone, but through another device that shares the same iCloud account. Because iCloud syncs the contacts from the cloud, deleting it on your phone won’t do anything – it would simply resync.
In any case, for whatever reason, your iPhone isn’t able to delete the contact because of it via the normal method. You can recognize read-only contacts, as they may appear to be grayed-out on your Contacts list.
How To Delete Read-Only Contacts On iPhone / iPad
Now that we know what causes read-only contacts to appear – and why they’re different than normal contacts, let’s look over how to delete them.
Note that since this issue occurs most commonly on iPhone, I’ll be referencing iPhones as I share further tips.
However, the process is exactly the same for iPads and even iPod Touches as well, if you are still using one of those!
1. Disable iCloud Contact Syncing
The first thing I recommend trying is disabling contact syncing through iCloud. The overwhelming majority of the time, this fixes the problem.
iCloud syncing will share contacts across all devices that use the same Apple ID. Even if you only have one iOS device, the contacts are still stored in the cloud as well.
So, disabling syncing may remove the problematic contact.
To disable iCloud syncing and remove the read-only contact, follow these steps:
- Open the Settings app.
- Tap on your Apple ID.
- Tap on ‘iCloud.’
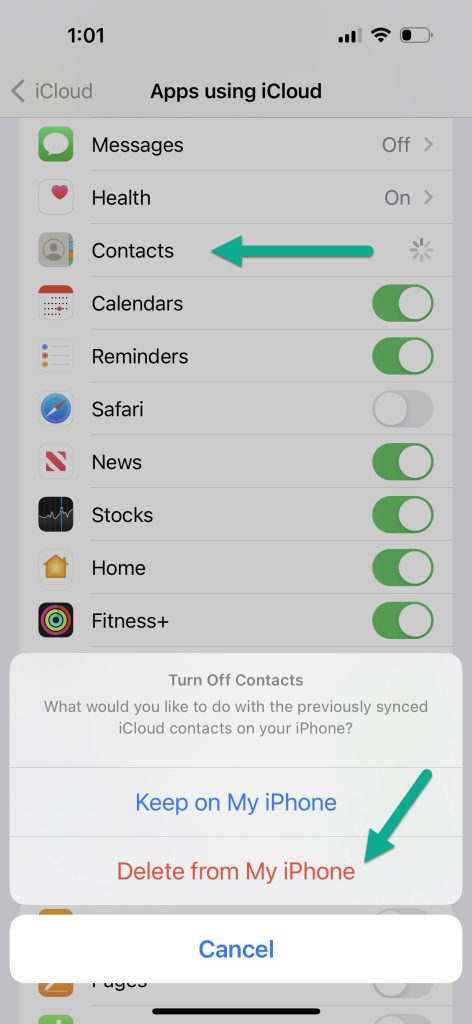
- Under the ‘Apps Using iCloud’ section, tap on ‘Show All.’
- Toggle ‘Contacts’ off.
- On the box that appears, tap on ‘Delete from My iPhone.’ Don’t worry, these contacts are not lost forever – they are still stored safely in iCloud and can be resynced to your device later.
At this point, restart your iPhone and open your Contacts app.
If you are missing contacts you still want, follow the steps above and turn contact syncing back on. If the read-only contact returns, one of the other methods mentioned in this article should allow you to delete just that one contact, without affecting any other contacts that are being synced from iCloud.
2. Check If The Contact Was Added From Another App (WhatsApp, Skype, Etc.)
Next, you’ll want to consider where the contact originally came from.
If you use alternative messaging apps like WhatsApp, Skype, or Facebook Messenger, these may sync contacts to your ‘Contacts’ app on their own, without you having to manually add their information yourself.
While this is convenient, these contacts may become ‘Read-Only’ and thus can’t be deleted through the normal method.
Instead, you will need to go to the app where the contact originally came from, and delete them there first. Then, wait for the update to sync within the Contacts app, and try deleting them again.
While the exact steps to delete a contact can vary depending on the app you’re using, it’s usually quite straightforward. Simply find the contact in your contacts list, tap on their name, and look for options to delete or remove them.
Note that there may not be a backup of this person’s contact information, so make sure to write it down (or add them manually as a normal contact through the Contacts app) before you delete them.
3. Delete The Contact From iCloud Directly
The third and final option is to delete the contact directly from iCloud’s website, at iCloud.com.
Before doing this, you should make sure that iCloud syncing has been turned back on if you disabled it previously. As a reminder, you can enable contact syncing by opening the Settings app, tapping on your Apple ID, tapping on ‘iCloud’, tapping ‘Show All’ under the ‘Apps Using iCloud’ section’, and then making sure Contacts is toggled on.
Anyhow, deleting a contact from iCloud’s website is easy.
To delete a contact from iCloud directly, follow these steps:
- Navigate to iCloud.com and sign in.
- Sometimes, Apple will send a notification to your phone, and require a 6-digit code to sign in. Open the notification that appeared on your iPhone, and enter the 6-digit code on iCloud’s website.
- Once you’re signed in, click on the ‘Contacts’ app. On desktop, this will be in the bottom left corner.
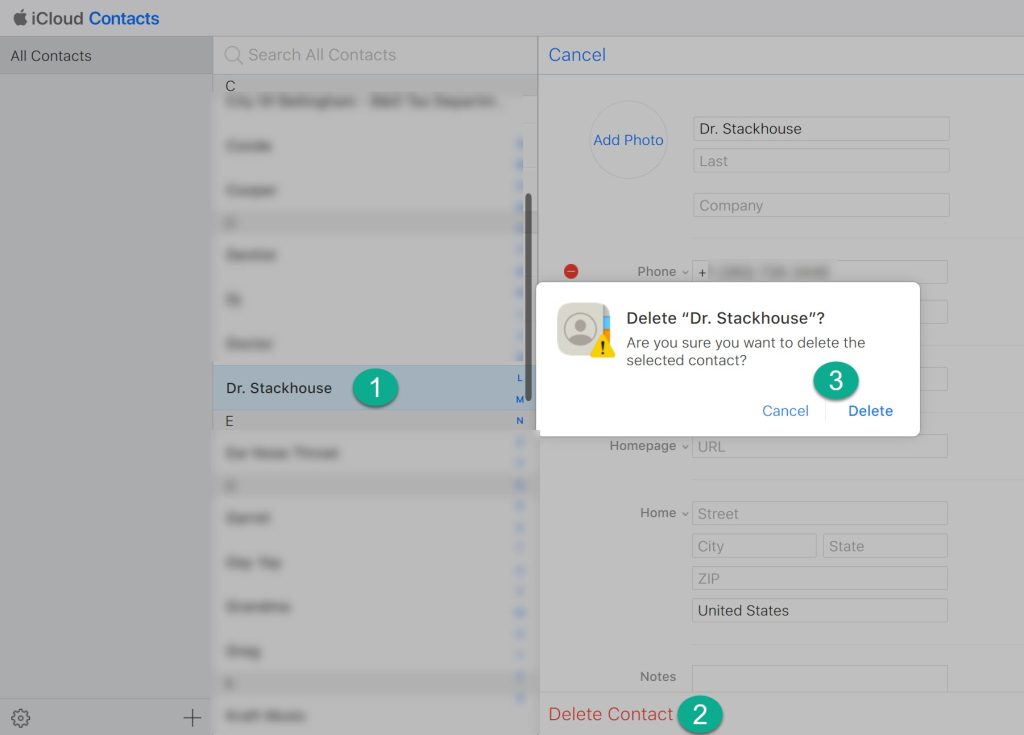
- You should see a page similar to the picture above. Locate the read-only contact that’s been causing problems for you, and click on their name.
- At the bottom of the page that pops up, click ‘Delete Contact.’
- On the confirmation window, click Delete.
Note that it may take a few moments for iCloud to sync with your phone, and remove the contact from your Contacts list. However, you can refresh it manually by turning iCloud sync on and off again by following the steps at the beginning of this section.
You should find that the contact is gone, even if was previously read only!
Conclusion
Although it can be frustrating, it’s actually quite simple to delete read-only contacts on your iPhone or iPad.
Typically, this issue occurs due to syncing with either iCloud, or a third-party messaging app. By addressing the problem at its source, you should be able to delete or remove them permanently without any issues.
I hope that you’ve found this article helpful, and you’ve managed to get the read-only contact removed.
If you are still having trouble, let me know through the comment form below and I’ll be happy to help.
Wishing you the best,
– James McAllister
